
iX Scout – Dialog
Introduction
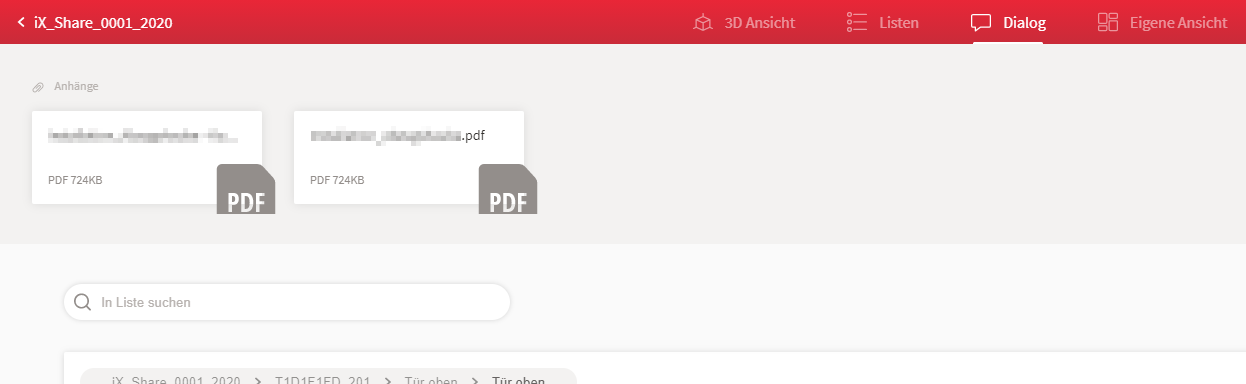
The "Dialog" area provides an overview of all chat content and uploaded file attachments in iX Scout.
File attachments
As described in document C110_iX_Scout_-_Data_transfer_and_login in chapter 3, file attachments can be transferred to iX Scout. These files do not necessarily have to be files created by imos. However, the file format should be supported by the respective end device. File formats such as PDF or pixel graphics (PNG, JPG, … ) are suitable for this.
In iX Scout you can find these files in the upper section of the "Dialog" area. Clicking on an attachment downloads the file.
Note: Check your browser settings if you do not know in which directory your browser saves the files.
Chat
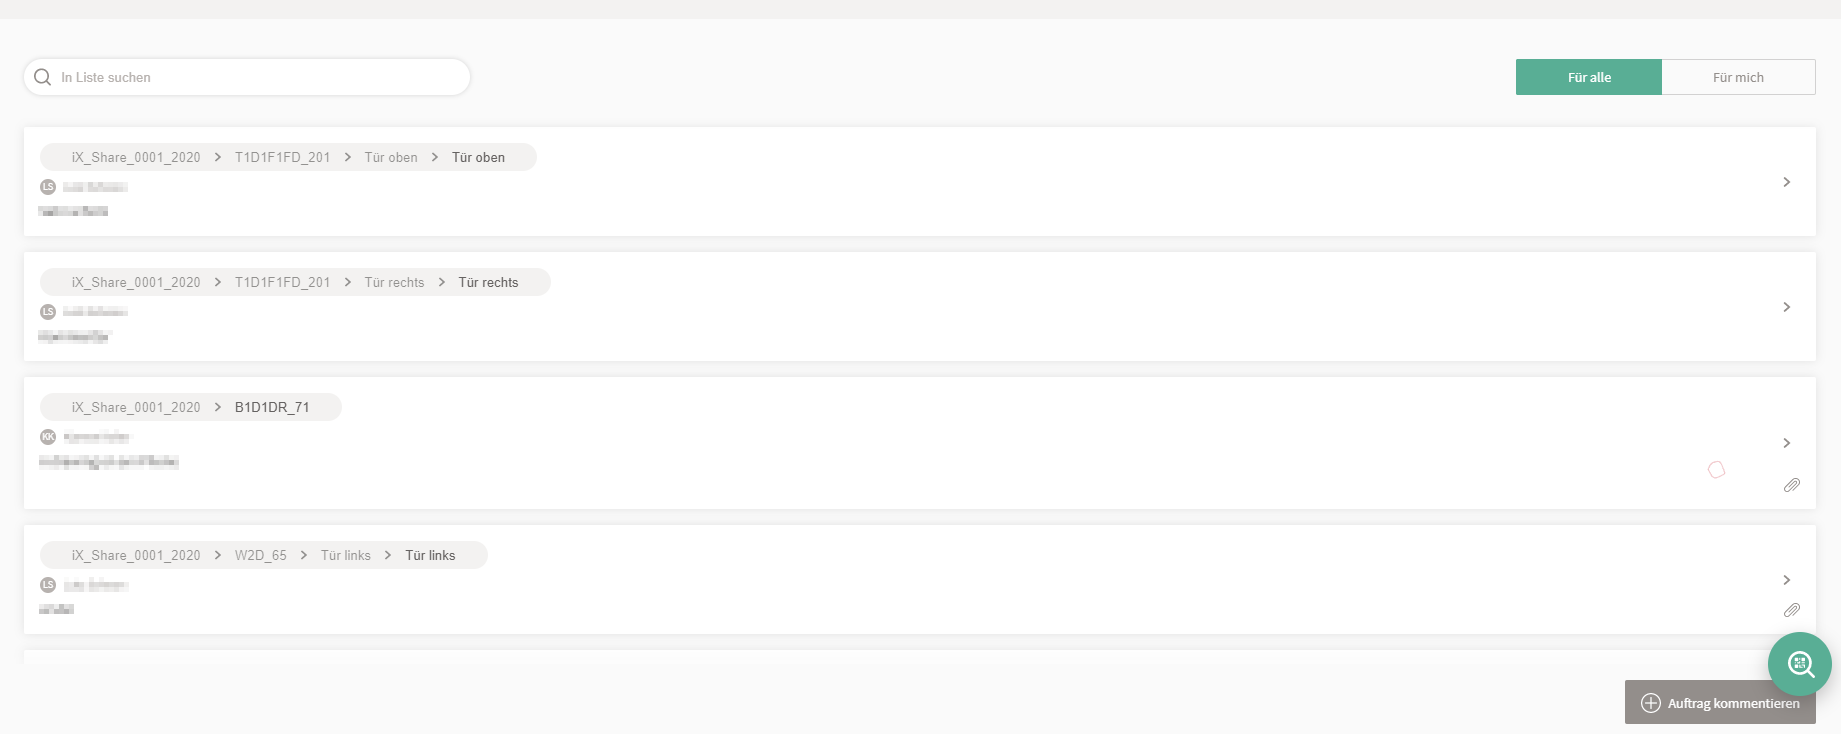
The integrated chat offers the user various options for contacting colleagues. It doesn't matter whether a user leaves a message about a component or article one the 3D view page or someone makes a comment on an edited drawing - all content comes together in the "Dialogue" area.
Each message history is presented in its own tile. In its header, this tile has the reference ("path") to the respective element to which the message history refers.
Order Chat
From this area it is also possible to compose and send messages related to the order. This is not possible in other areas. If a corresponding chat has already been started, the newly composed messages will be appended to the existing order chat history.
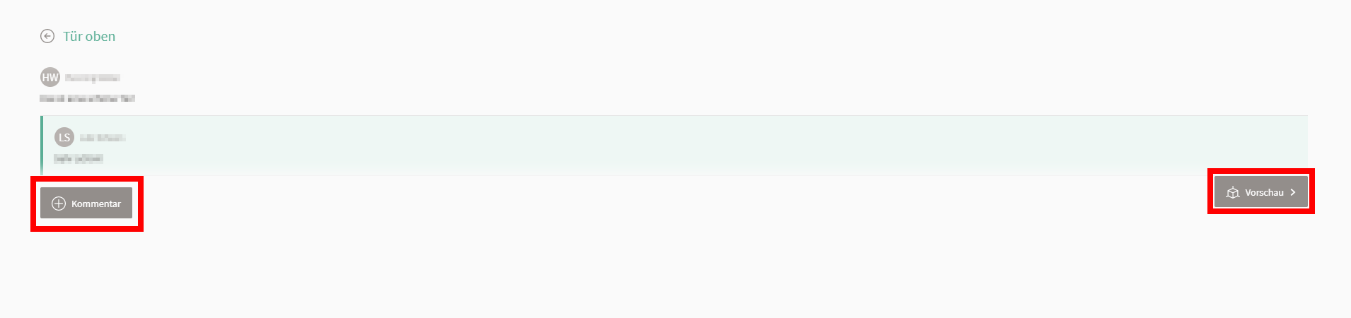
Clicking on a tile opens the entire message history. In the process, the user can then take part in the conversation or reply to a message or switch to the 3D area using the "Preview" button to get more information about the element in question.
Filter
The messages can be filtered by "For me" or "For everyone". "For me" means that only messages that were either written by the user themselves or in which the user was added as a recipient are displayed.
Notes in preview images
Leave notes and sketches in preview images to describe an issue more easily. The notes are saved in SVG format and superimposed on the preview image as a separate layer. The original state of the preview image is retained.
Procedure:
- Click on the preview image, for example in the Properties area of the 3D preview. The image will open in a modal window.
- Click Mark up. The following tools appear in the top bar:
- Draw: Draw freehand.
- Highlight: Highlight in yellow like a marker pen.
- Enter text: Enter text. The font size can be changed by dragging the text box larger/smaller.
- Erase: Remove an SVG element from the drawing.
- Reset: Remove all SVG elements from the drawing.
- Share: Write and send a message including a preview image and SVG elements.
- Use the tools to add any drawing elements in the preview image.
- Click on Share to send the preview image including the SVG drawing to a colleague.