
Lock pocket editor
Access
> > Manager > Tab Details > Select machinings in the element window > Methods window imos Macros Lock pocket
General Information
Inserting, modifying or deleting a lock pocket in a part can be made with the editor lock pocket.
Options
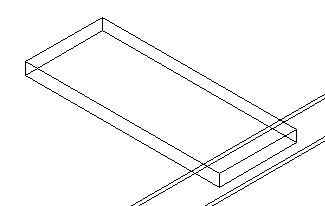
In the top section of the dialogue you can define the data of the lock pocket. In the bottom section of the dialogue the data of the lock pocket, that already exists in the part, is displayed in a list. By selecting a lock pocket from the list in the bottom section, the fields in the top section of the dialog are filled with the data of the selected lock pocket.
| Starting Point X | X-coordinate of the insertion point. |
| Starting Point Y | Y-coordinate of the insertion point. |
| Starting Point z | Z- coordinate of the insertion point |
| Linear Division | The positioning of the lock pocket can also be defined with linear division. The button is deactivated if the checkbox next to it is not activated. Above the button a dialog appears where a linear division for the insertion point in X, Y and Z can be entered. |
| Select | The adjoining graphic also offers the opportunity to change the reference points, which is done by clicking on the graphic. The co-ordinate system is changed by selecting the corner points in the graphic. The entered coordinates then refer to this corner point. This makes it possible to enter relative modifications. |
| Length | Length of the lock pocket in mm. |
| Width | Width of the lock pocket in mm. |
| Depth | Depth of the lock pocket in mm. |
| Corner radius |
The corners of the lock pocket are rounded off to the entered value. The entry is shown in mm. |
| Rabbet offset |
If the lock pocket is to be inserted into a door with a rabbet, you can enter the rabbet width with this parameter and therefore move the lock pocket to the entered value.
The offset is not shown in the preview. |
| Orientation |
Definition of the orientation of the lock pocket. The following orientations are available:
Next to every selected orientation a graphic of this orientation scheme appears for a better overview. |
| Rotation X | Rotation angle of the lock pocket around X |
| Rotation 0 | Rotation angle of the lock pocket around Y |
| Rotation Z | Rotation angle of the lock pocket around Z. |
| Edge Profile | Via a click on the button you change to the level of profiles in the Element Manager. You can select a profile and assign it to the lock pocket. |
| Technology Data | Via the Technology data the used tool for the machining can be defined. |

| Add | With this function manual modifications of a lock pocket are effective. The set values in the top part of the dialog are taken for the current selected lock pocket in the bottom list. |
| New | Via this function you create a new lock pocket. If you activate the function, a new lock pocket with the set data in the top part of the dialog is inserted. |
| Delete | With this function you delete the current lock pocket. |