
imos iX2019 PLAN: Room planner
The Room Planner offers the following updates:
Wall visualization mode
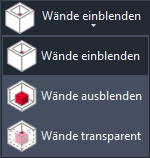
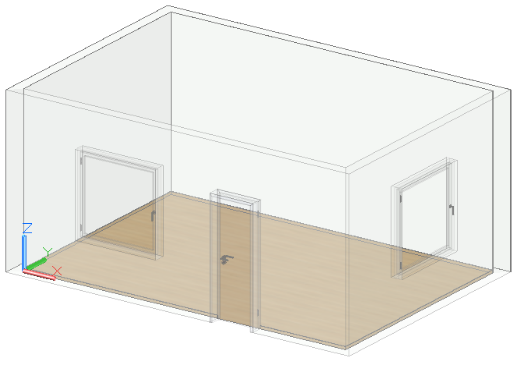
A drop-down list is available from the ribbon menu in PLAN and CAD (on the Room Planner tab) to set the wall visualization mode. It is easier to edit articles if you switch to either Hide walls or Transparent walls. If, on the other hand, you wish to suppress the automatic Hide Walls function, set the mode to Show Walls. This function is practical if you wish to create a plan view without having to set the view to “top”.
|
|
Rectangular and round pillars
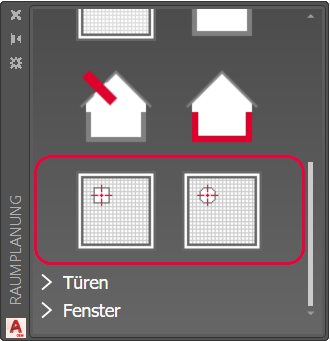
The Room Planner palette now also offers methods to insert rectangular and round pillars.
Wall orientation
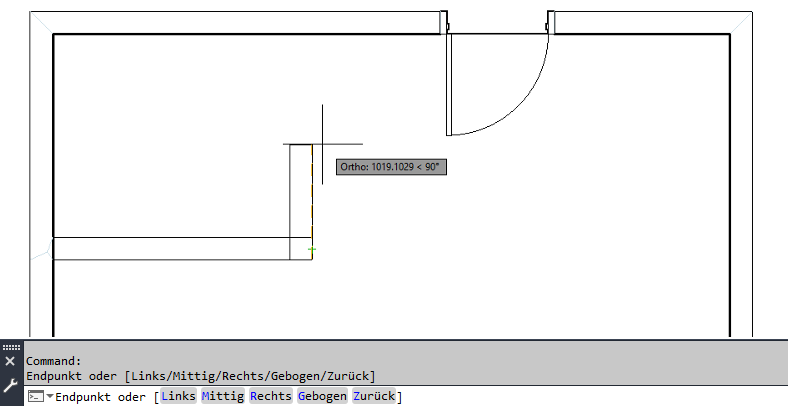
When drawing free form walls, define their orientation in the command line:
- Left
- Center
- Right
- Bent
- Back
If you have previously drawn a wall with the right thickness, then there is no need to calculate the thickness of the wall.
Doors & Windows
It is possible to plan doors and windows far more intuitively:
Dimension input and grips
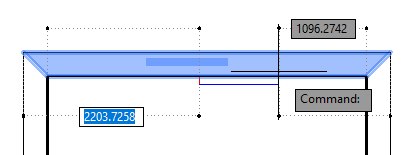
Place room objects with the aid of dynamic dimension input:
If the room object snaps a wall, the distances to the next room object or to the next corner are automatically displayed. Switch to dynamic dimension input using the TAB key; each time the TAB key is pressed the cursor jumps to the next field of four (distances left and right to the interior and exterior sides of the wall). Enter a distance and press ENTER to confirm your input.
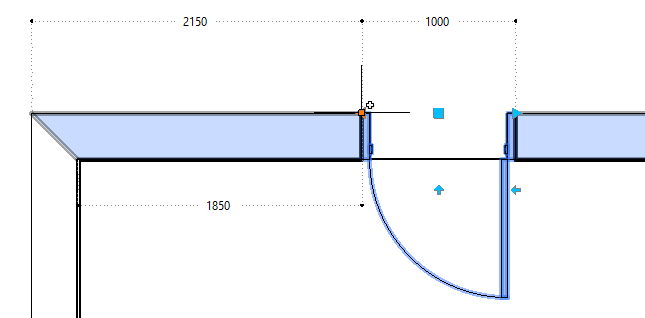
In addition, using the new grips you can quickly alter the direction a door opens and the stop that are displayed when a door or window is selected: the arrow grip on the door leaf changes the direction of opening, the arrow grip in the middle of the doorway arch changes the stop.
You can subsequently alter the distances by clicking an arrow to the left or right of the door frame and then entering the new distance in the dynamic dimension input field. You can also move a door or window to the left or right as desired by means of the square grip. The distances are also displayed when you move the mouse pointer over the object.
Materials
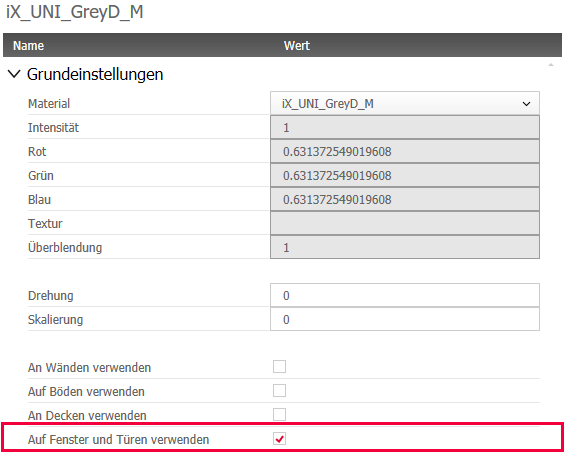
You can customize a room by assigning materials to doors and windows as well as walls, floors and ceilings. To do so, select the check box Use at windows and doors in the desired color principle.
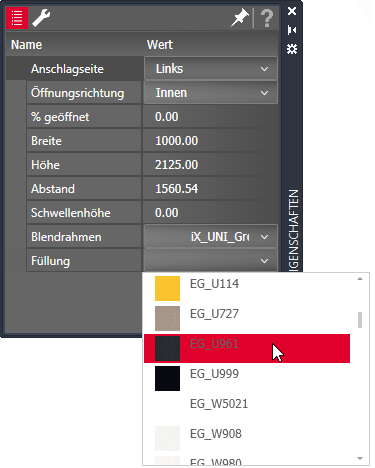
Separate selection boxes are available in the iXplorer properties palette to select frames, filling, glass, etc.
Default values
imos remembers previously selected room properties, which it loads as default values when the program is launched again:
- Wall height
- Wall thickness
- Baseboard height
- Base thickness
- Wall material
- Floor material
- Ceiling material
Jun 2019 | iX2019
#01138