
iXplorer - The new imos Manager
General
The dialog boxes of the new iXplorer are integrated in the classic AutoCAD pallets. They relocate old imos Manager functions and add new ones.
It is possible to position the pallets freely on the screen, display them transparently, alter their size and anchor them to the side of the screen. This allows for a convenient multi-screen set-up.
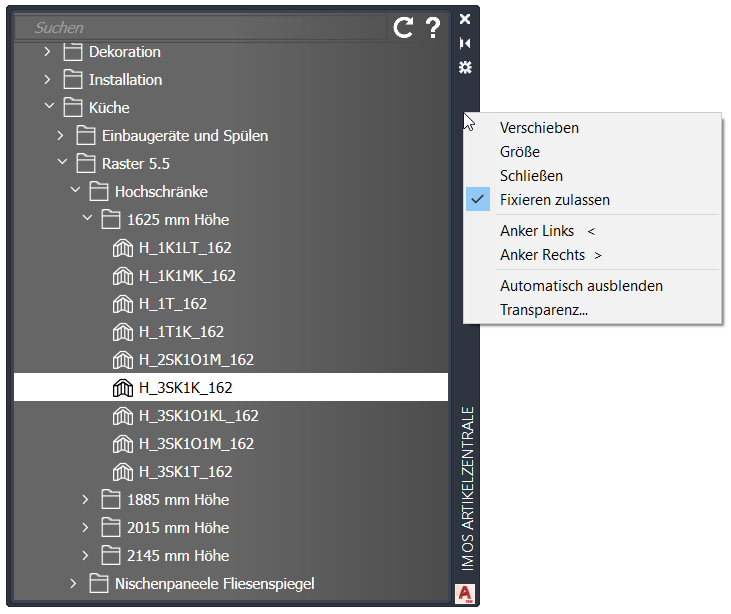
The iXplorer knows two pallets ...
- Properties
- Elements
In addition, there is the palette for the ...
- Article Center
A palette is subdivided in:
- Menu tabs
- Context menus
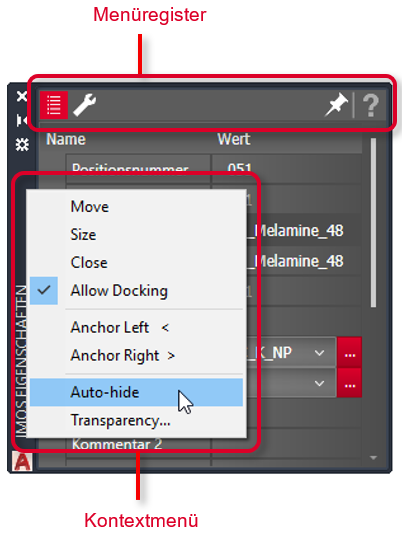
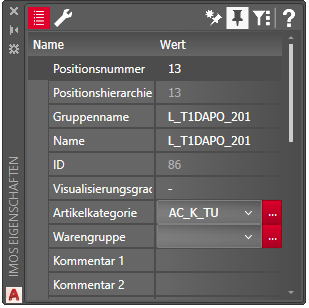
Properties palette
The Properties palette also contains properties as well as methods and modifiers. Furthermore, you may click Insert Properties to display them in the Properties palette.
Index tab PropertiesAs usual the elements' properties (property name with its respective value) are listed here.
In the index tab Methods all methods available for the selected element (article, part, machining, ...) are listed in categories. Besides restructuring, new methods have been added:
- in the category General:
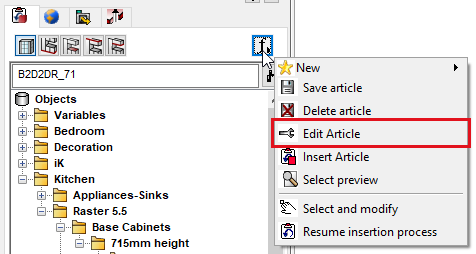
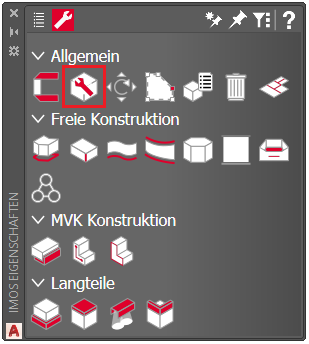
- Edit article (launches the Article Designer)
|
|
| imos Manager: "Functions" > "Edit article" > Article Designer | iXplorer Properties palette: "Methods" > Method "Edit article" |
- in the category Contiguous Parts:
- Base
- Work surface
- Light valance
- Top valance
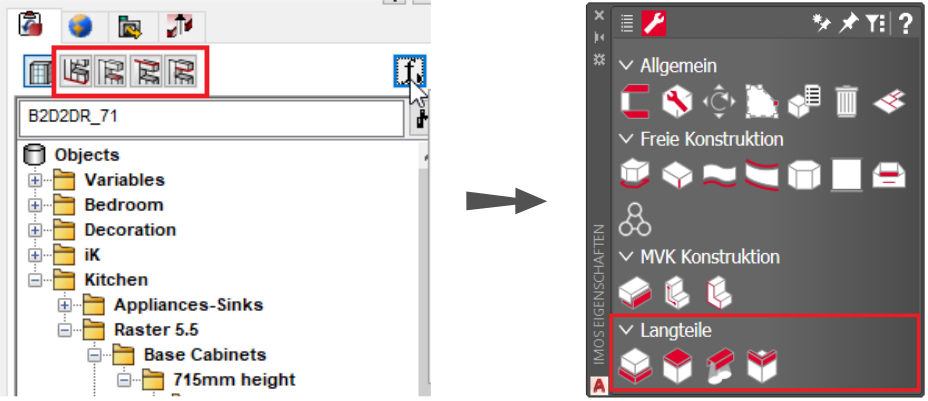
To insert a contiguous part, first select either the root element or articles in the Elements palette. Methods for Contiguous Parts then become available in the Methods tab of the Properties palette.
After selecting elements and clicking on a Contiguous Part method, the Properties palette switches to a Modifier dialog; Make necessary changes to settings in the dialog, apply them with a click on the tick or discard them with a click on the cross.
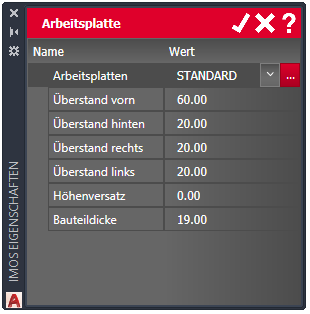
To nest contiguous parts in cutting pattern parts along a single axis (X-axis), there is the method Contiguous Cutting Pattern Part. Select a cutting material, determine distances to the start and end border and optimize by 'Minimal Pattern Part Count' or by 'Minimal Waste'.
The method is available when selecting the root node in the Element Tree.
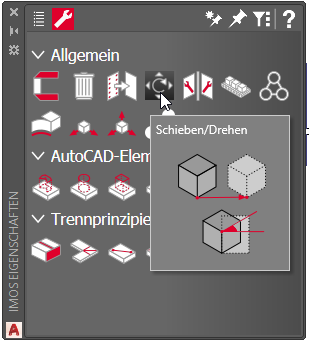
Tool TipsWhen hovering over a method's icon with your mouse, a tool tip will appear with visual instruction on how to use it.
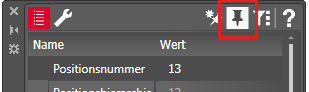
To edit your selection more quickly, click the pin button to activate the Follow mode: the Properties palette is then displayed automatically next to the element last selected.
Visibility of properties and methods
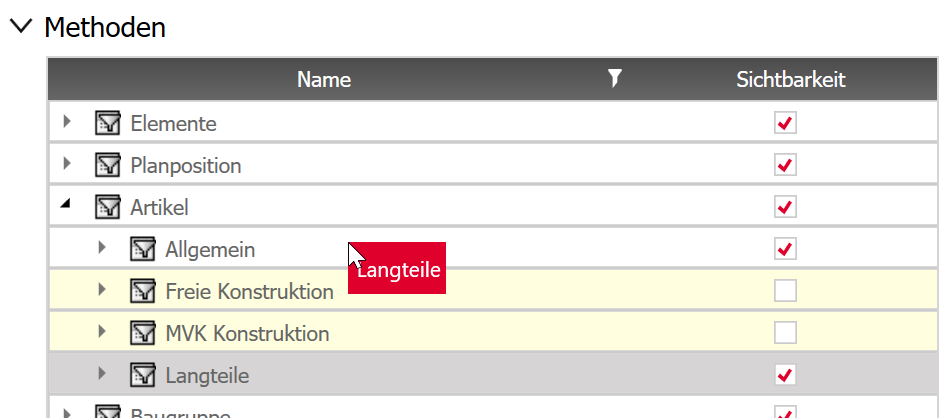
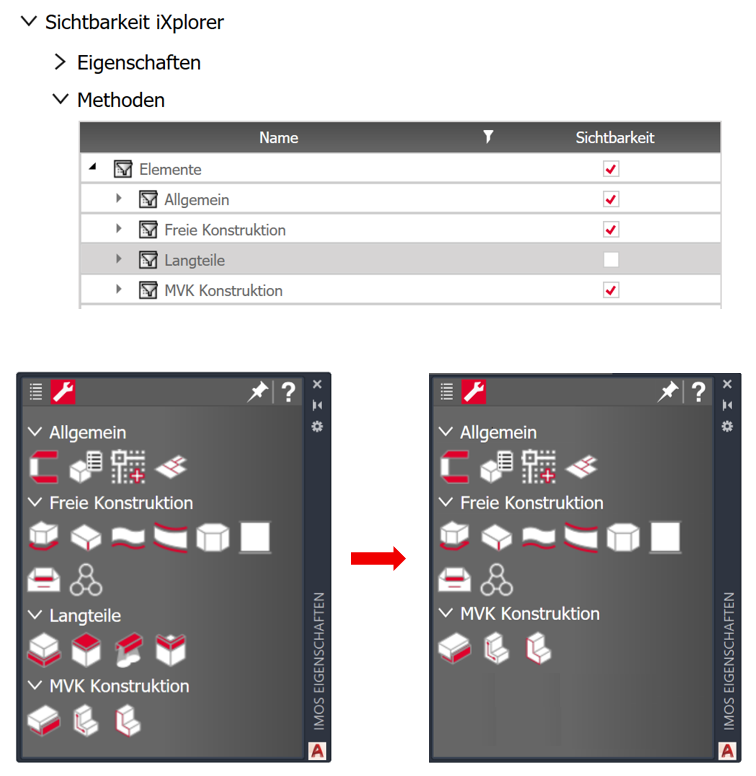
The administrator is able to explicitly activate or deactivate the visibility of individual methods and properties of the iXplorer in the Organizer via System --> Group permissions. For example, if PLAN users should continue planning contiguous parts with the Configurator instead of the iXplorer methods, the admin can simply deactivate the checkboxes for "Contiguous parts" (located in "Article" as well as "Root").
Article Center palette
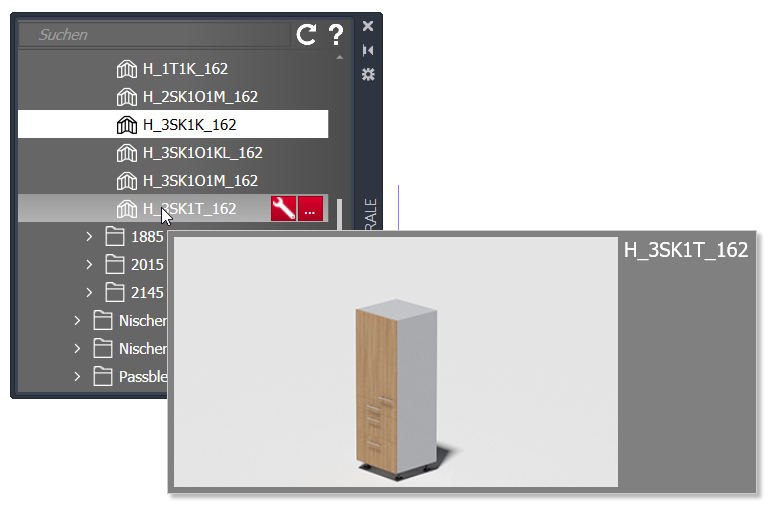
Beginning with the version iX 2019 the articles are integrated in data management, and are handled analogous to the other principles: click the ellipsis button next to the article designation to open the Element Manager in which they can be managed. After clicking Apply in the Element Manager, the selected article sticks to the cursor and can be inserted in the drawing area.
Click the spanner icon left to the ellipsis button to open the Article Designer for further editing options. Preview images are displayed when you move the mouse pointer over an article in the list. A 3D-preview can be opened in every Article principle with a click on the Camera button.
Search for articles using the live search field in the menu bar - results are displayed with a preview graphic when typing.
| Icon | Label | Description |

|
Live search | Search for articles; Results are displayed with a preview graphic when typing. |

|
Refresh | Refreshes the Element's properties when changes have been made below Construction principle level (e.g. connectors, part definition, ...). |

|
Online help | Opens the Online Help in a browser |
Elements palette
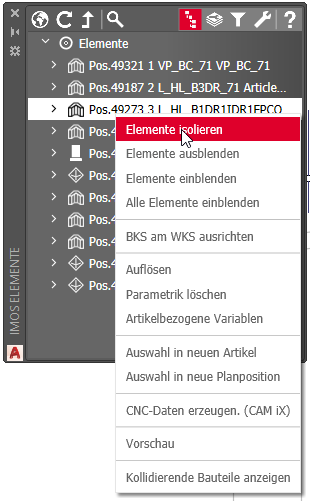
The Elements palette contains the elements tree structure as well as a context menu that offers the functions available to edit the elements.
Context menuIts context menu is mostly identical with the context menu of the old imos Manager, but it has been slimmed down:
- Rename (instead, simply click a on the element name a second time)
-
Zoom to object (moved as Zoom mode to the menu bar)
| Icon | Label | Description |

|
Details (global) | Collapses the entire tree structure and resets the current selection |
|
|
Refresh | Updates elements’ properties if changes have been made below CP level (e.g. connections, part definitions, …) |

|
Level up | By clicking this button, the next highest hierarchy level is displayed. |

|
Zoom mode | Zooms in on current selection, filling the drawing area. |

|
Details | Lists the current selection in a tree structure. |

|
Modifier stack | The index tab is available when one or more modified articles are selected. Lists all modifications made in the article. |

|
Filter | Opens the Filter dialog in the palette. |

|
Parametrics |
The index tab becomes active only when an Object Designer or a contiguous part is selected. As soon as you switch to the index tab Parametrics, the palette lists the parametric tree of selected OD-articles. It is possible to alter the parametric data of a selected element in the Properties palette. |
Zoom mode
When activated, the drawing area automatically zooms in on items selected in the Elements tree.

Lists all modifications made in the article.
Revoke a modification and all subsequent modifications by clicking the cross next to it.
Save an article including its modifications either order-specifically or globally with the two Save buttons in the palette's menu bar.
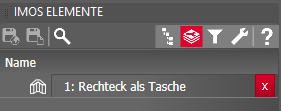
Elements Filter
Elements matching the filter criteria are marked in the drawing area simultaneously.
The new interface inherits functions known in the old filter:
| Icon | Label | Description |

|
Current selection | Collapses the entire tree structure and resets the current selection |

|
Complies with filter criteria |
If activated, all the elements that meet the filter criteria will be selected. If deactivated, all the elements that do not meet the filter criteria will be selected. |

|
Append to current selection | Appends elements matching the filter criteria to the current selection |

|
Adopt properties of selection | Restricts available search fields to the selection's properties |
|
|
Reset filter | Resets the filter settings to default |

|
Use filter | Finally selects elements matching the filter criteria and returns to the tree structure. |

|
Select Filter Type | In the drop-down, choose an element type list you would like to filter, e.g. parts. |
| Select filter principle | Text input field to enter a name that the filter should be saved unde. | |

|
Save filter principle | Save current filter settings under the name entered in "Select filter principle". |
Edit parametric data of contiguous parts and Object Designer articles in the index tab Parametric of the iXplorer Element palette. By default, the tab is locked. As soon as you select a contiguous part or an OD article, it becomes unlocked. When you switch to the Parametric tab, the Properties palette lists parametric attributes of selected elements in the parametric tree.
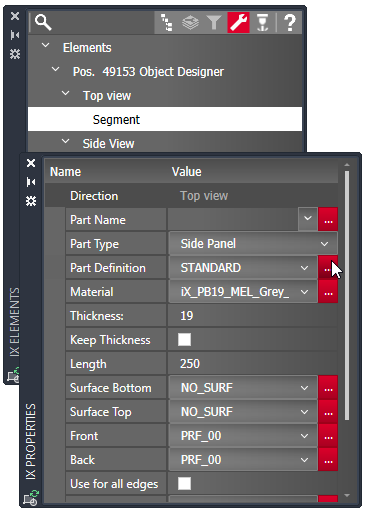
By splitting the parametric tree off the standard element tree (in the index tab Details) the workflow for creating Object Designer Articles has changed:
In the ribbon menu’s index tab Object Designer, you find all relevant methods for creating OD-articles. After clicking the method for adding a new “Object Designer Article” and selecting the OD-article in the Details tab element tree, the Parametrics tab becomes active. After loading the template DWG, switch to the Parametrics tab and start creating initial/template entities as well as OD segments and parts. If need be, change parametric properties in the Properties palette before creating the parts.
Save the OD article by selecting it on the highest level (either in the parametric tree or in the element tree) and clicking “Save Object Designer Article” in the ribbon menu. The Element Manager pops up where you save the article as an Article principle. The OD-article is now available in the Article Center.
Note: Applying different attributes to an already created OD-part, e.g. applying a different material, is still done via the tree in the 'Details' tab where the parts are listed. Do not forget to return to the Parametrics tab after making changes.
Picking elements
Up until iX 2017, the options for picking a plan position, article, sub-assembly, part or edge were located in imos Manager.
The duplicate functionality is slimmed down in iX 2019 by removing the extra menu.
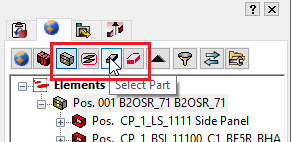
imos Manager: Picking elements via Details tab
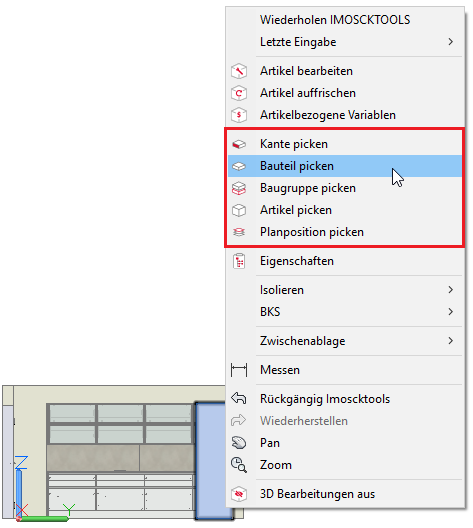
imos iX 2017 and iX 2019: Picking elements via context menu in the drawing area
Visibility
The administrator is able to explicitly activate or deactivate the visibility of individual methods and properties of the iXplorer in the Organizer via System --> Group permissions; via Drag&Drop he can move the items into a more suitable sequence that will also be applied in the iXplorer.
For example, if PLAN users should continue planning contiguous parts with the Configurator instead of the iXplorer methods, the admin can simply deactivate the checkboxes in "Contiguous parts" (located in "Article" as well as "Root").
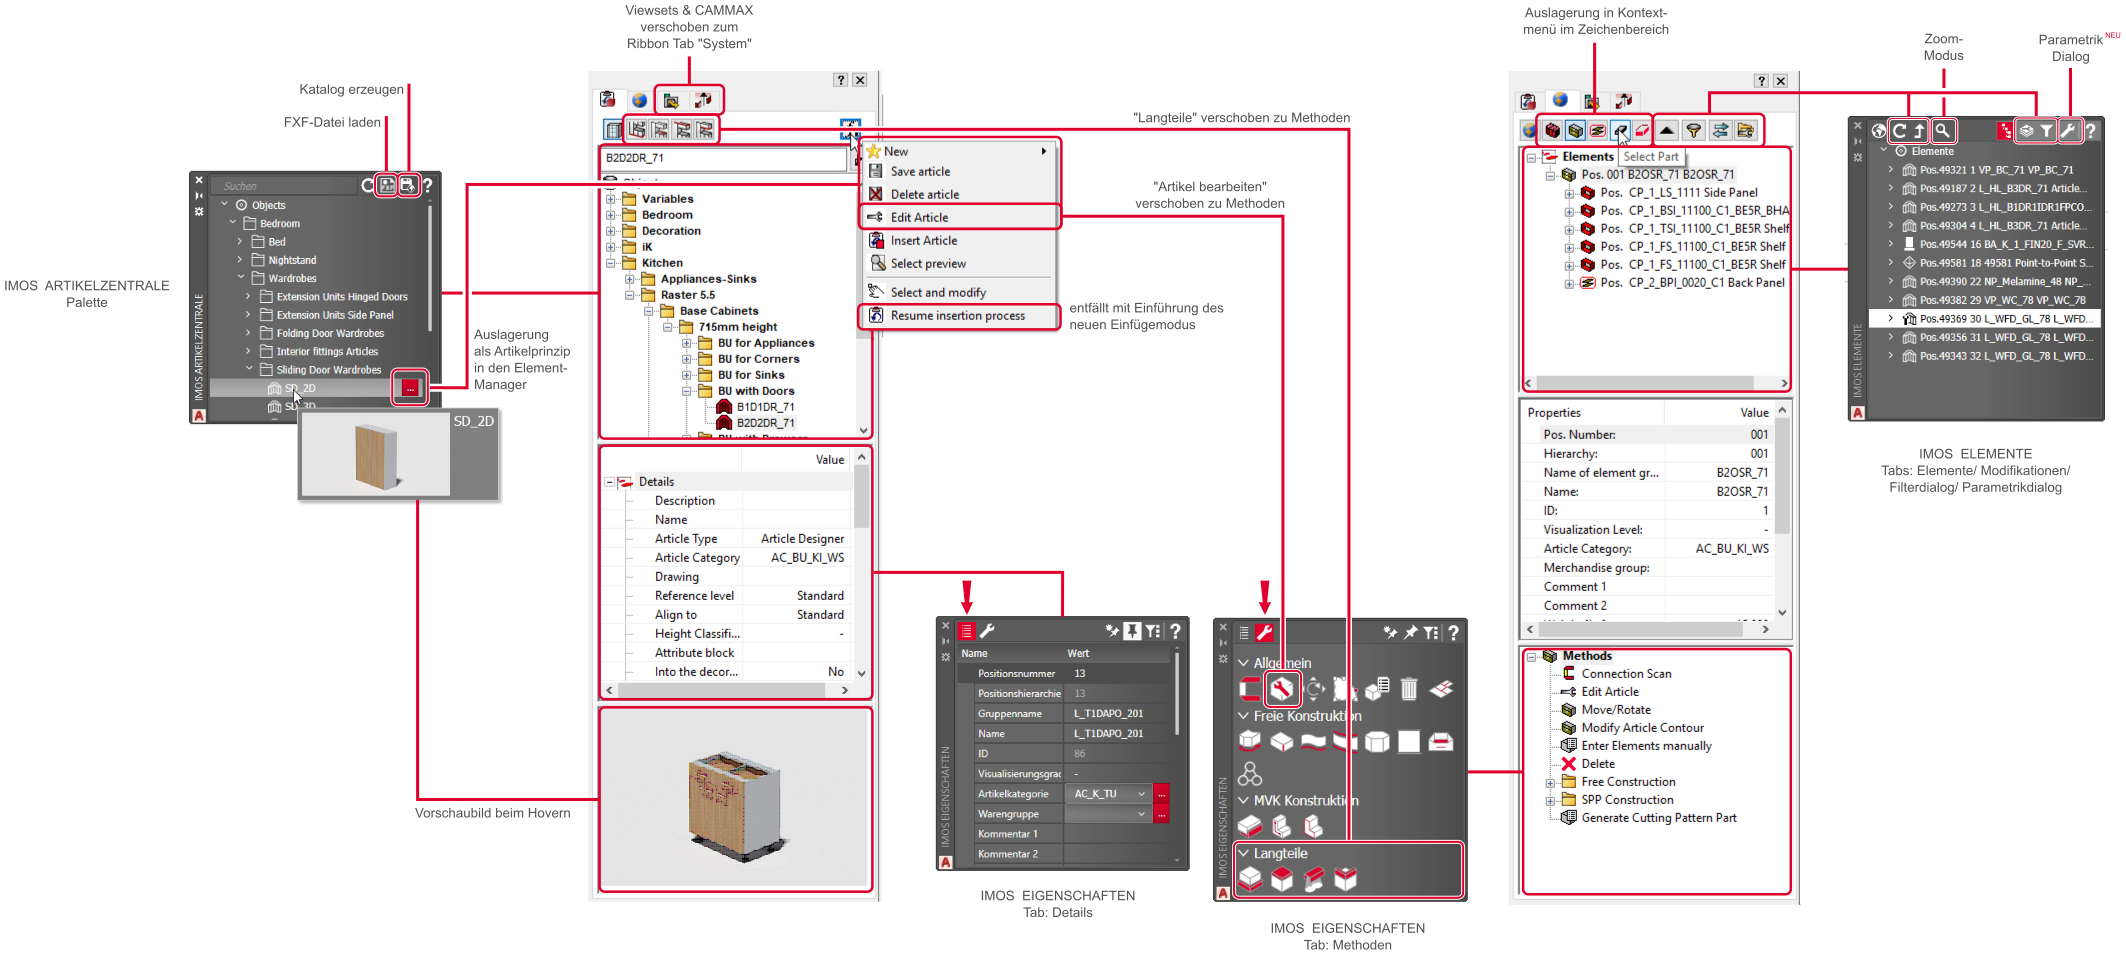
The restructuring of the old imos Manager is summarized in the following overview:
May 2019 | imos iX 2019
#01129