Insert articles – Optimizations
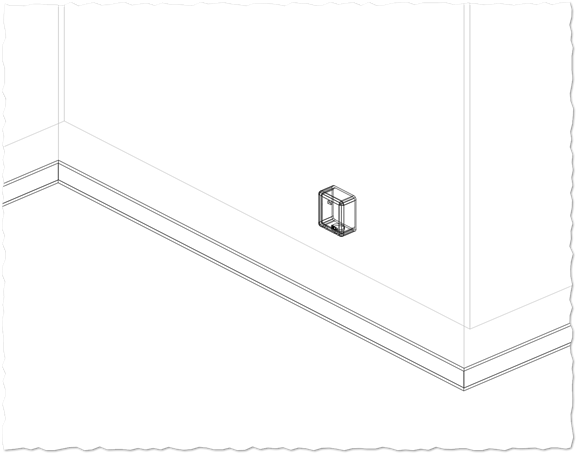
Detailed preview of decoration articles
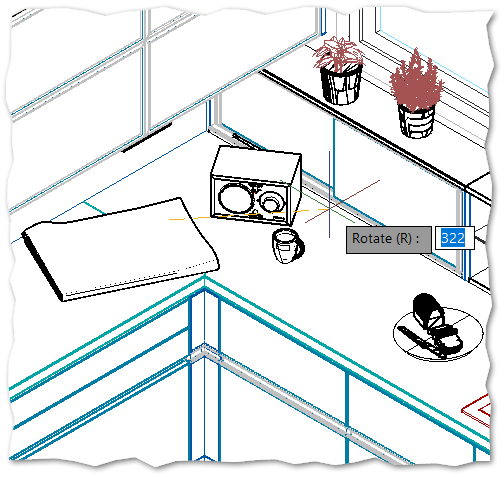
The right choice and positioning of decorative articles gives a room the finishing touch. To make decorating easier, the DWG drawing of the selected object is loaded. This means that, instead of a rectangular placeholder, the object is displayed to you in detail. This allows you to position and align it in a visually appealing way right away.
Snap behavior
The snapping behavior of articles when the base point is selected has been adjusted for better handling: When inserting by base point, the snapping of article and wall snap points is temporarily switched off, so that you can select the target point at which the base point should snap.
Tip: To snap certain types of points during insert mode, press CTRL+Right-click. A context menu opens, where you can select a point type to catch.
Example:
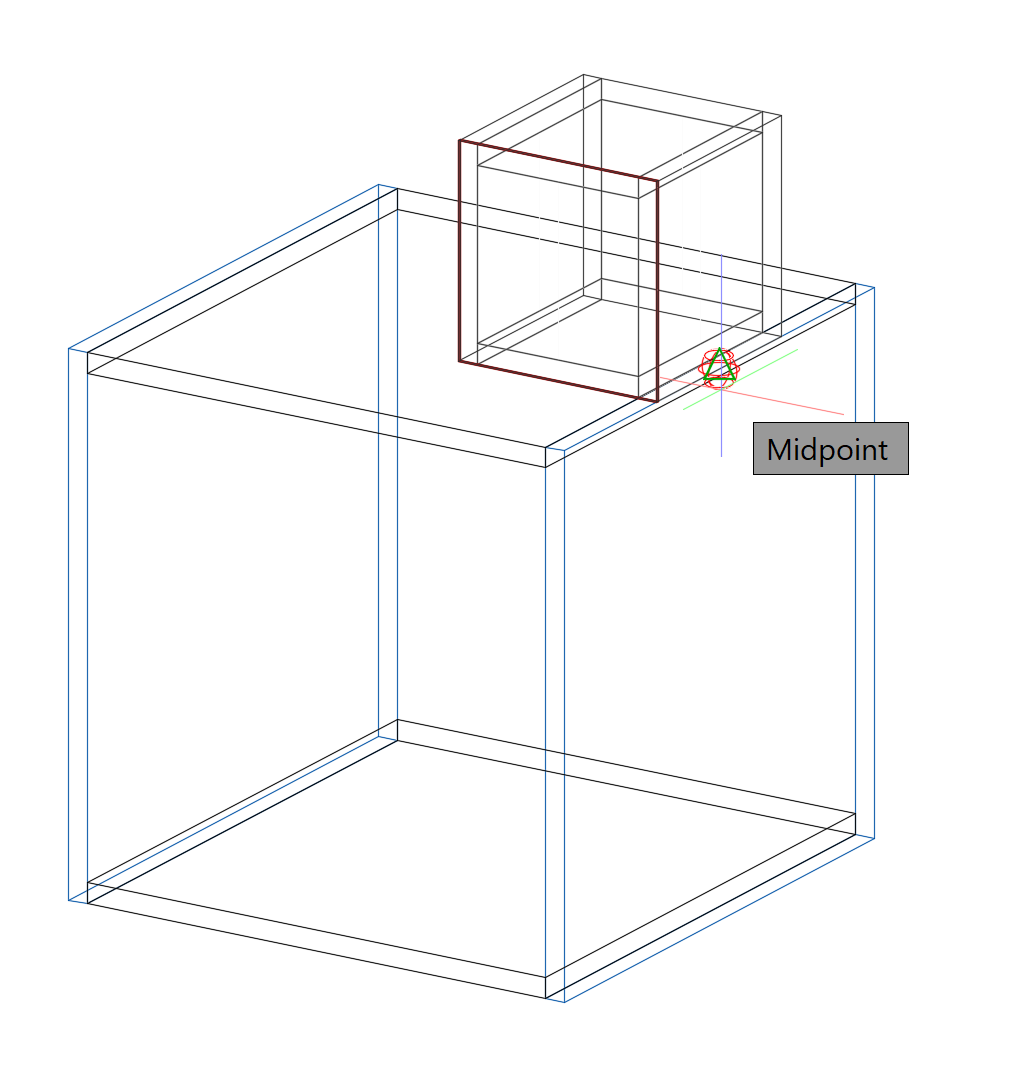
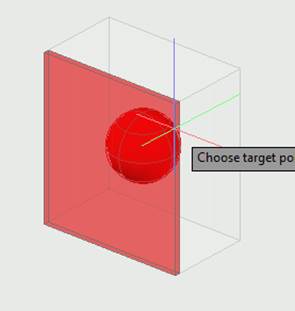
In insert mode, define the base point of the small cube.
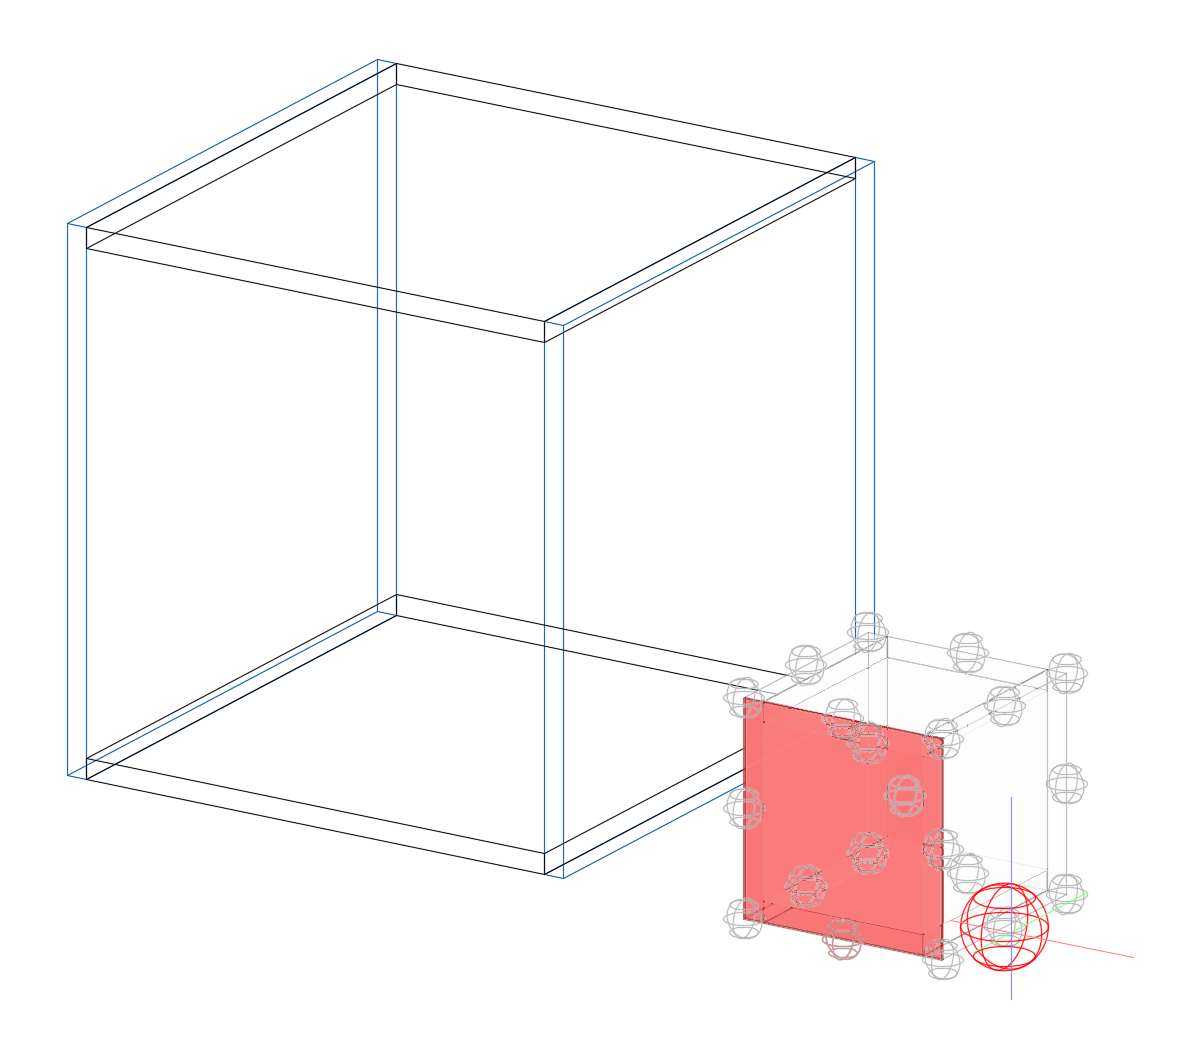
Press CTRL+Right-click and select the point type Center.
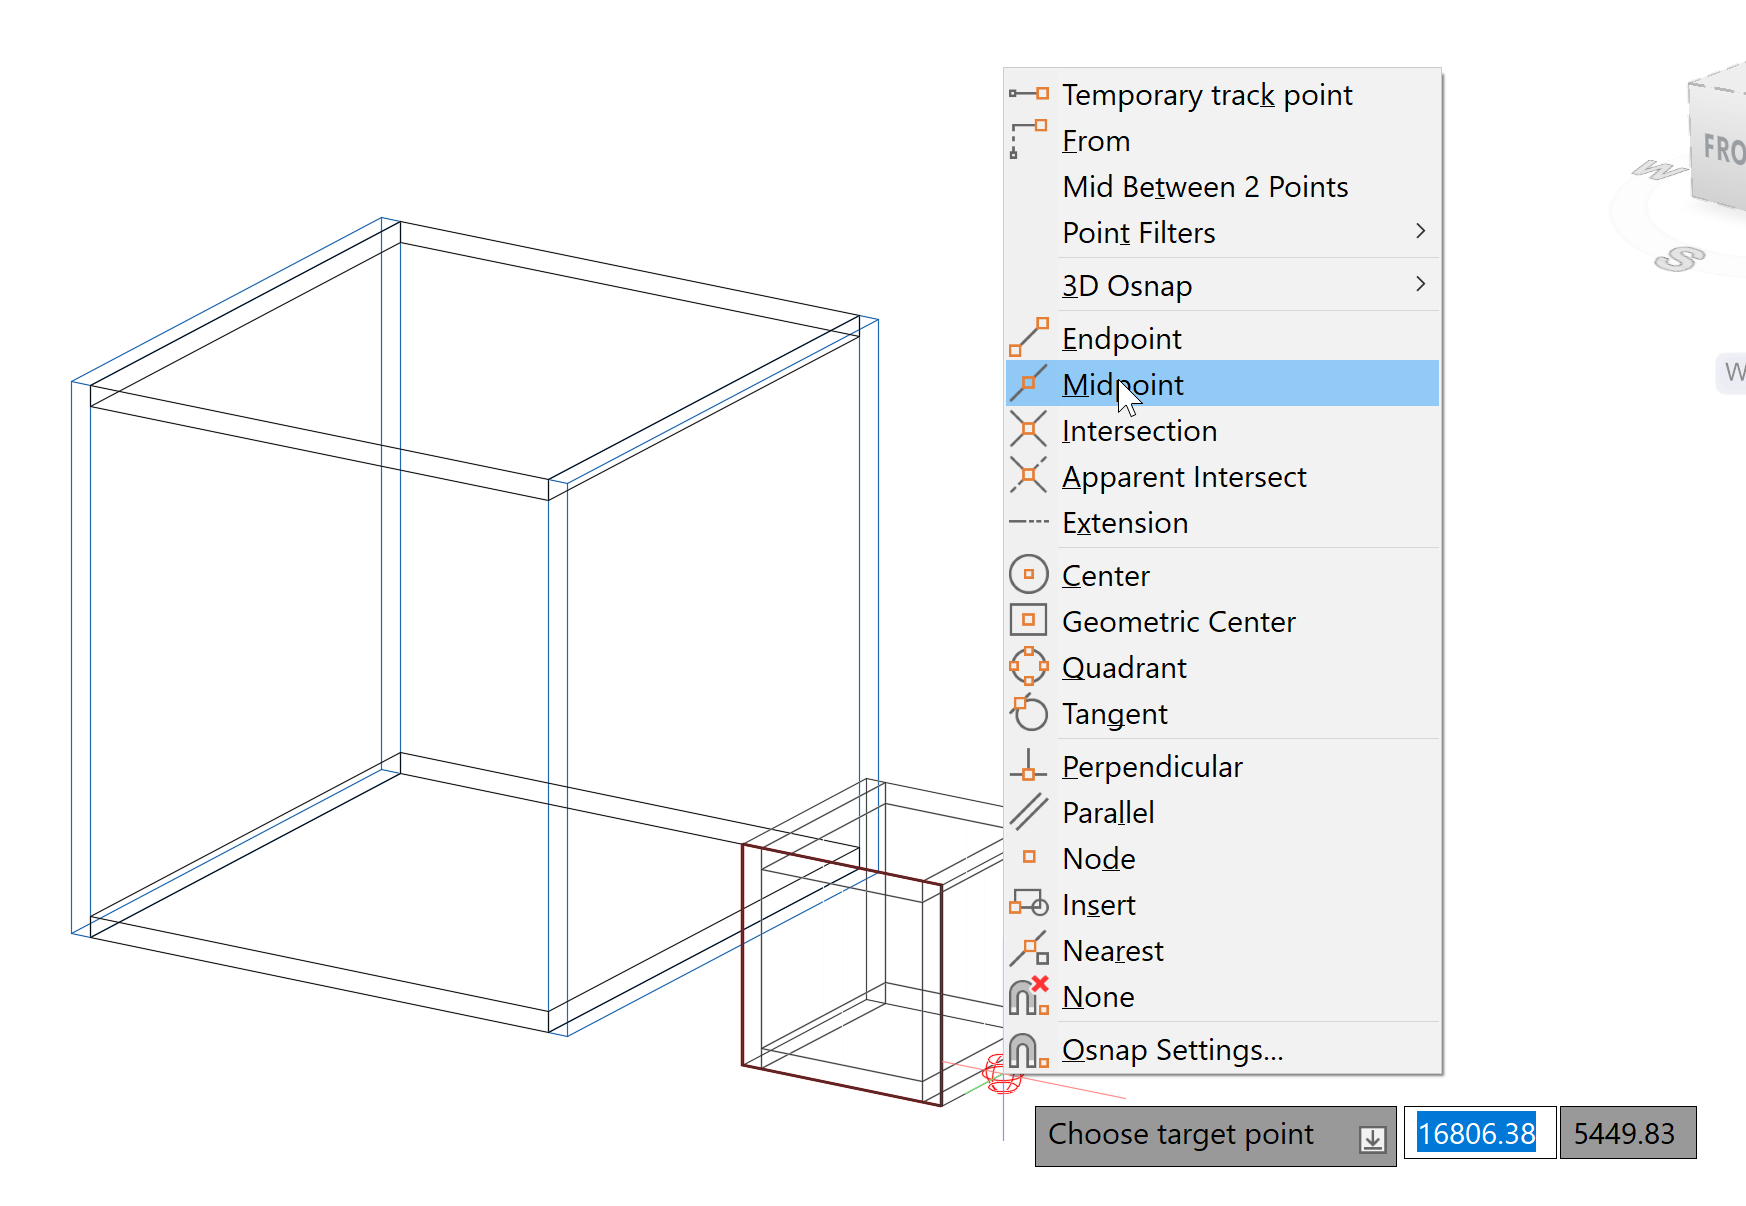
The small cube snaps at the geometric centers of the large cube.
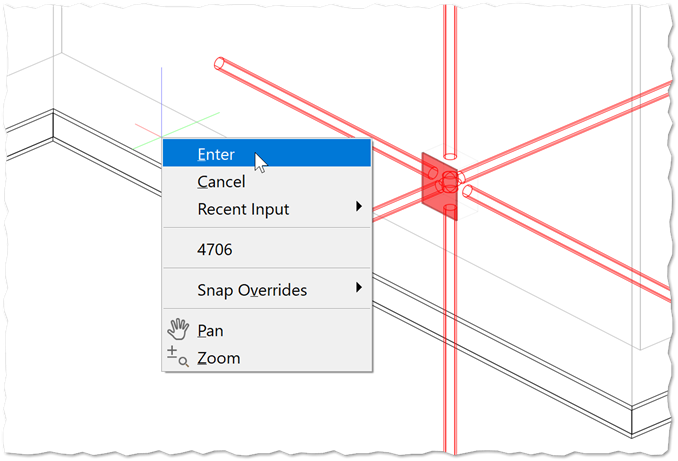
Move article method – Enter offset dimension on direction selection
When you call the imos method "Move article", select an article and choose the direction (arrow) to move it, you can now enter the desired offset directly in the dynamic input and confirm it by pressing the ENTER key.
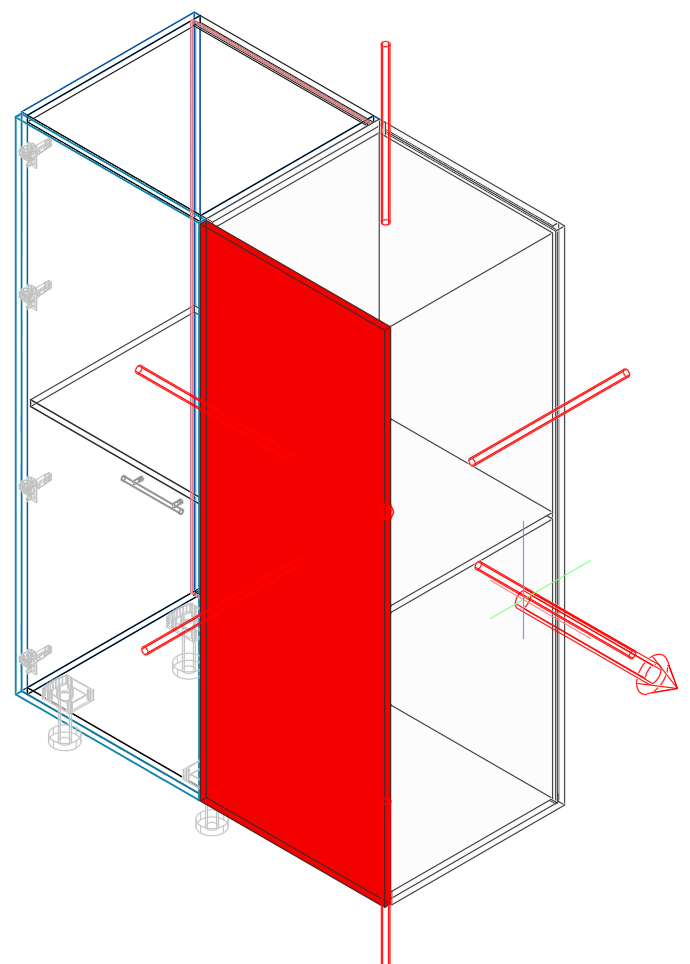
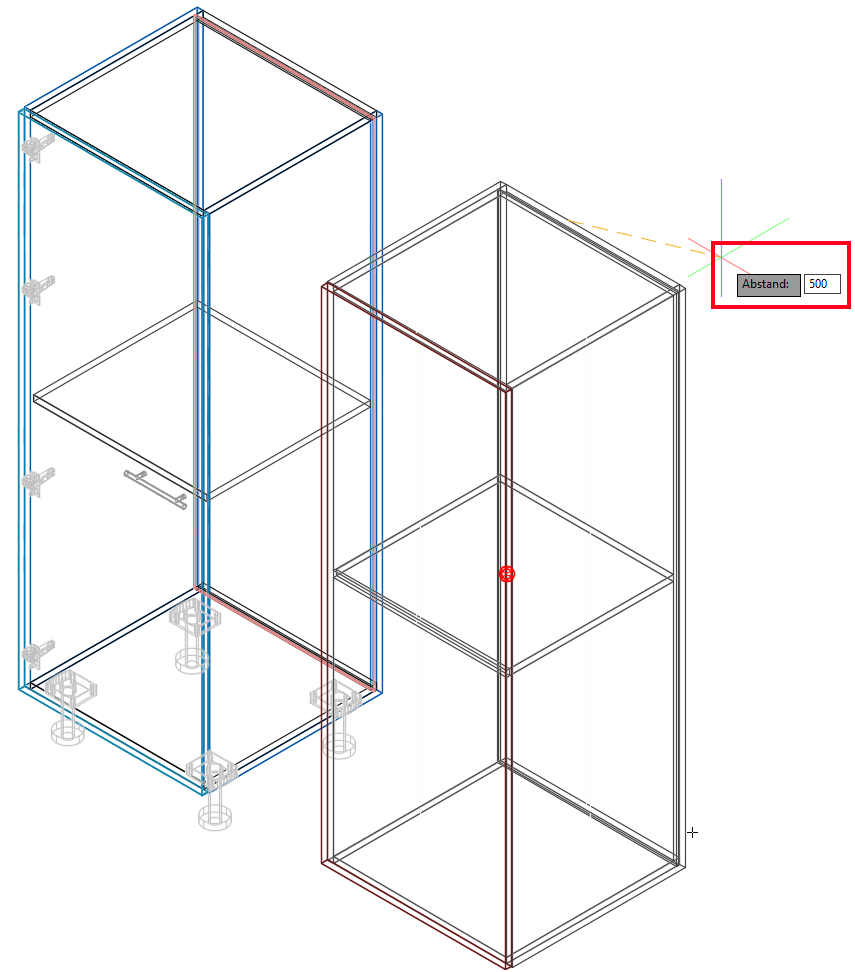
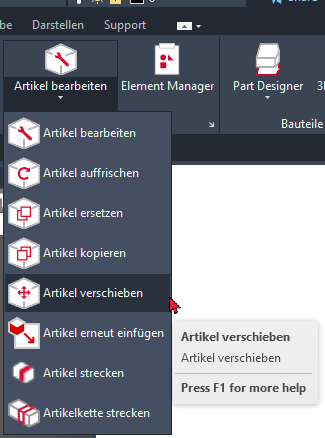
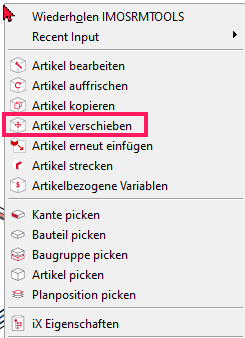
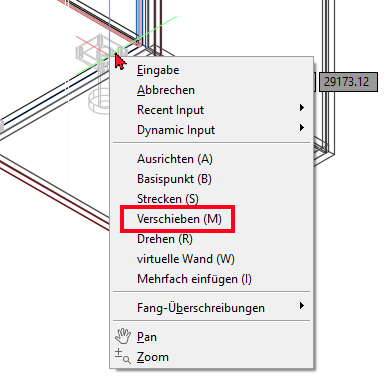
Remember: The "Move article" method can be found in the following spots in the program.
- Ribbon menu > Designer tab
- In the context menu of the drawing area, if the insert-article-mode is active
- In the context menu of the drawing area, if the insert-article-mode is inactive
Reinsert article
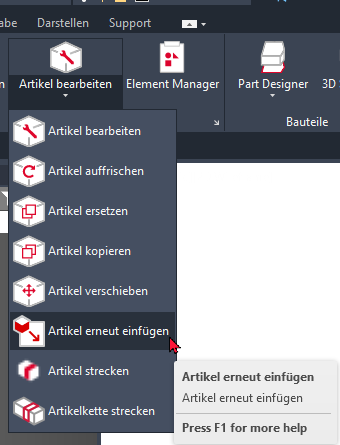
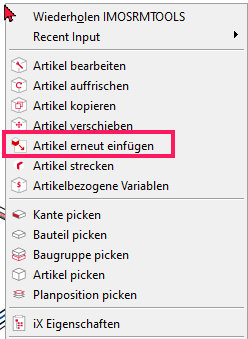
iX CAD and iX Plan have been supplemented with the function "Reinsert article", which activates the insert article mode for selected articles.Use the function if you want to position articles somewhere else later on.
- Click „Reinsert article“.You can find the function in the ribbon and in the context menu of the drawing area.
- Select one or more articles that you want to reposition.Right-click to apply the selection.
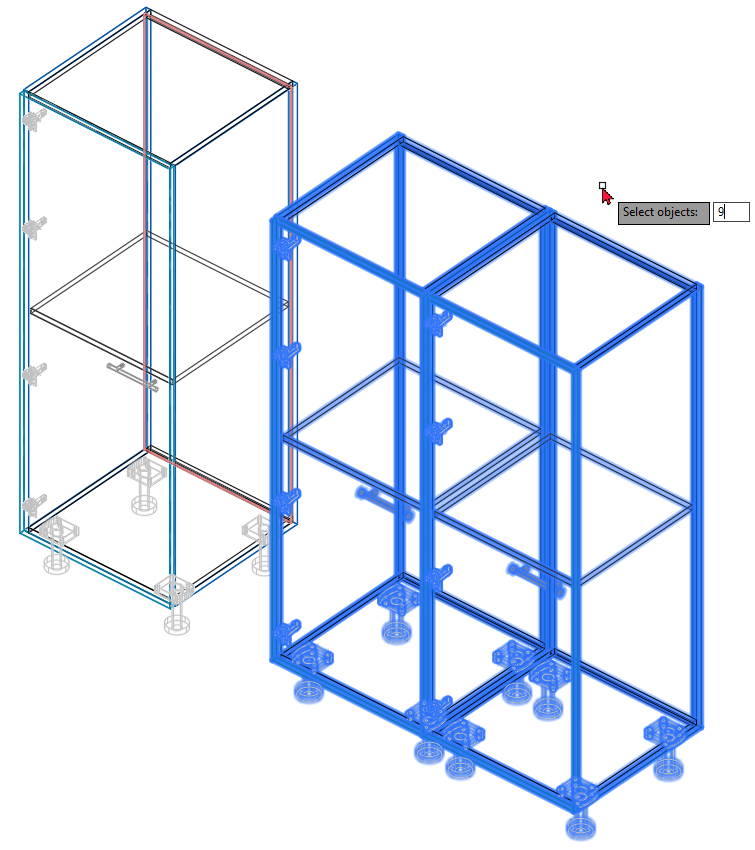
Result: The articles are sticking to the mouse pointer and the insert article mode is active, i.e. you can use the different snapping options and the functions of the context menu to position the article as you like.
Define wall distances of installation objects when inserting
When inserting installation objects, you can define distances along a wall the object snaps to.This allows the object to be positioned precisely on the wall.
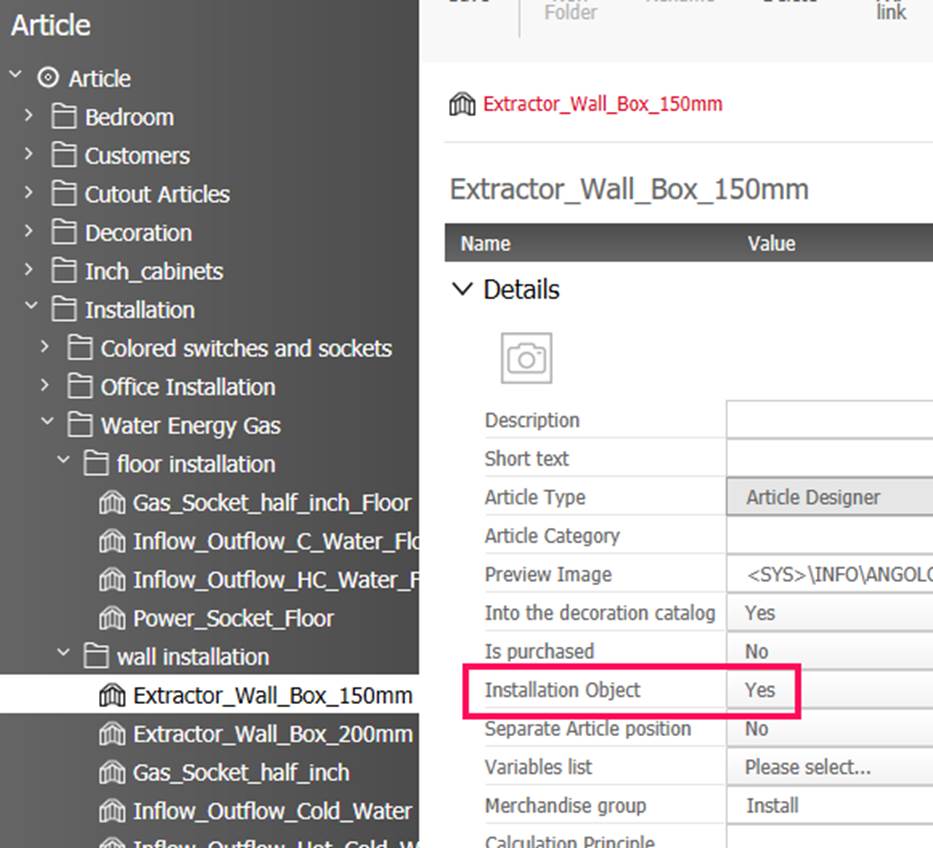
Remember: An article is considered an installation object if the following is set in its Article principle: Installation object =Yes.
Procedure:
Prerequisite: You are in the process of inserting an installation object, i.e. the insert article mode is active.
- Move the mouse pointer, that the installation object is sticking to, over the desired wall so that it snaps to it.
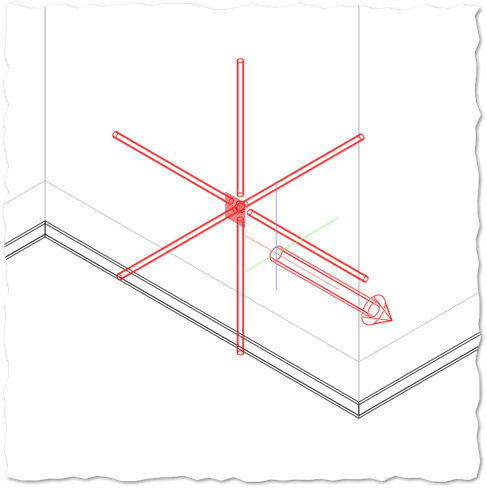
- Right-click to open the context menu and select the Distance Wall (D) method. Directional arrows appear on the object.
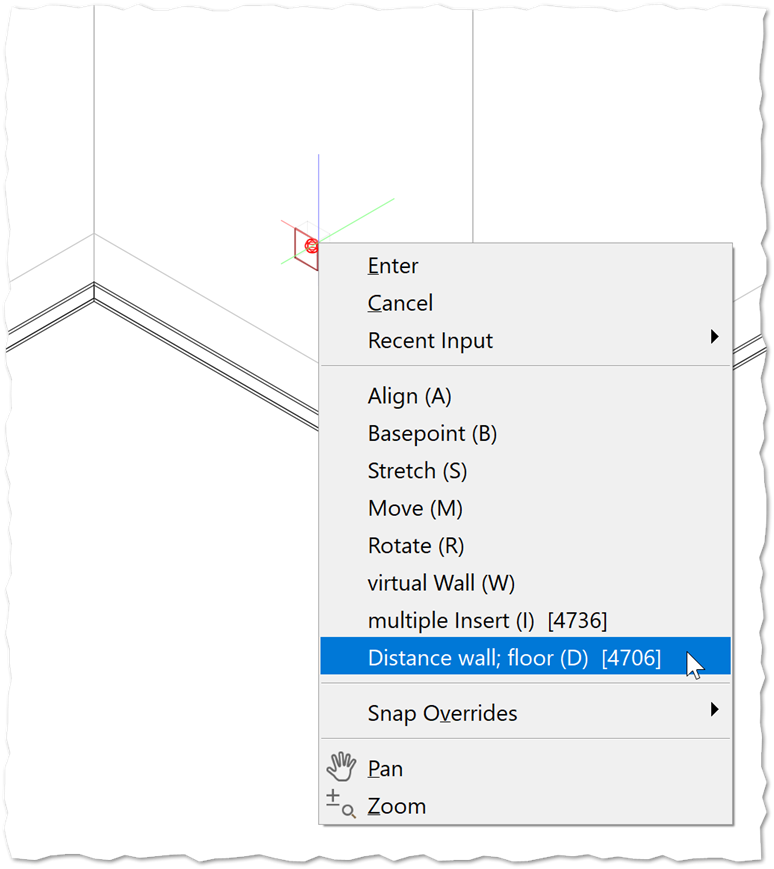
- Click the arrow that points in the direction where you want to define the distance. The dynamic input pops up.
-
Enter the distance in the dynamic input. Confirm with the ENTER key. The direction arrows are displayed again.
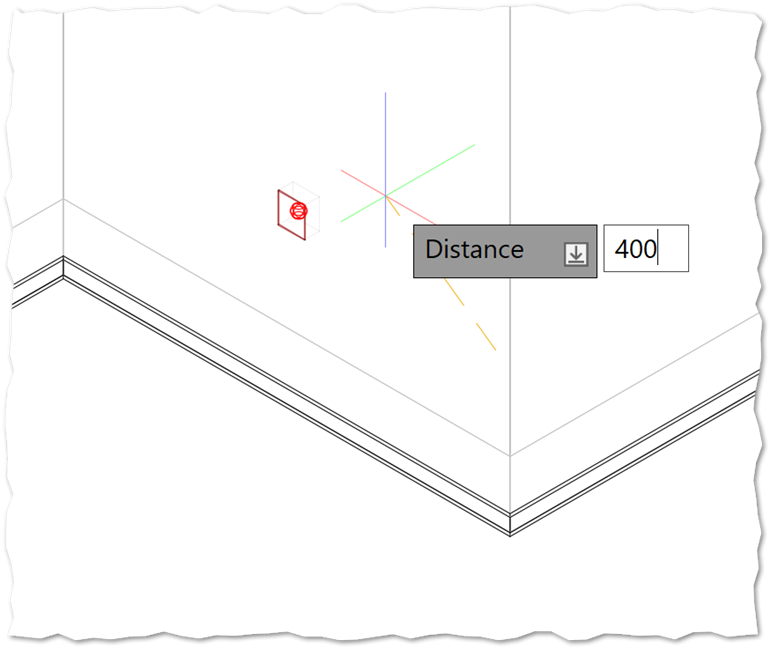
Info: The input is the distance at right angles between the central base point of the object and the nearest wall corner located in the selected direction.
-
Optional: Define additional distances as described above.
-
Left-click in the free drawing area or press ENTER to insert the object.This takes all defined distances into account.